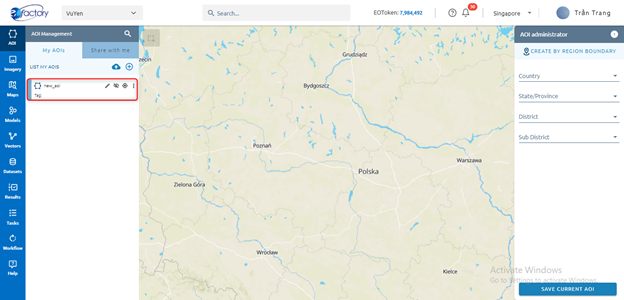
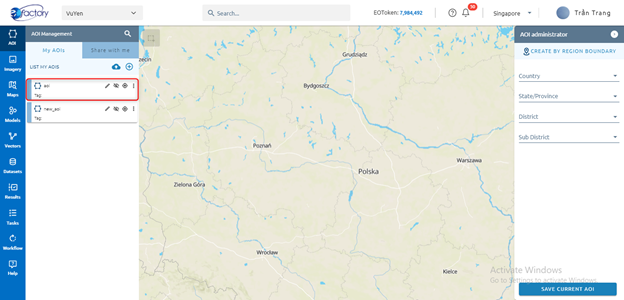
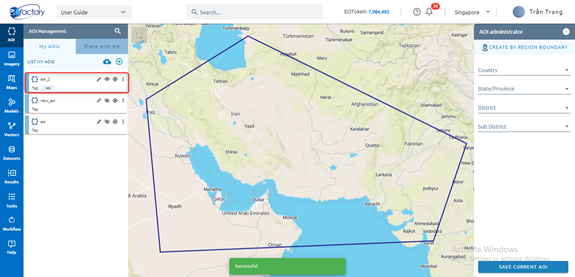
My AOIs
AOI is the area of interest and stores and manages all AOIs you upload or download. AOI can be used in tools: raster clip, vector clip and training tool. Users can easily find their available AOIs by searching the name of AOI.
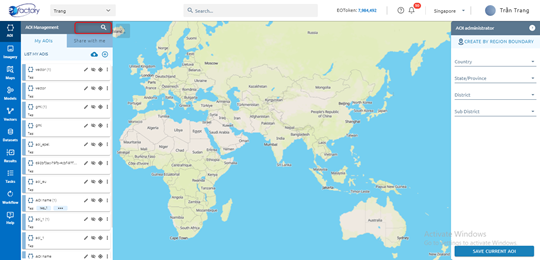
Tab My AOIs show all the owner’s AOIs
Created
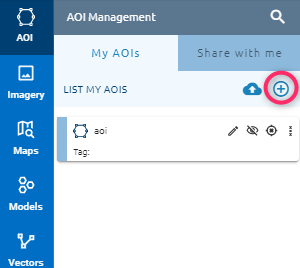
There are 4 ways to create new AOI: Draw on Map, Upload file, Drag and drop and Using the region boundary
Draw on map
Step 1: Click icon below
Step 2: Click icon Draw tool to select tool
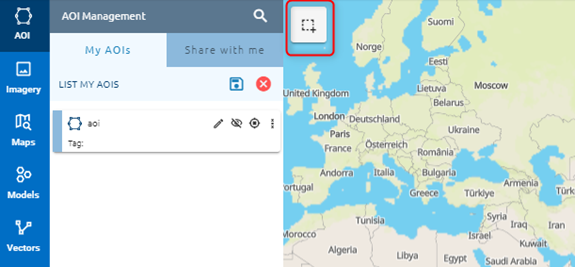
Click or use shortcut (3 for Draw polygon, 4 for Draw rectangle, 5 for Draw assist rectangle, 6 for Draw circle) to select tool

Step 3: Use selected tool to draw AOI on map
Step 4: Click icon Save:
or Save Current AOI button
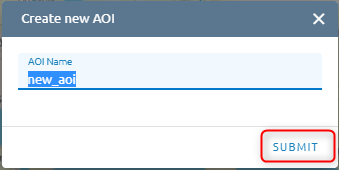
Step 5: Type AOI name

Step 6: Click Submit button
Upload file: by browse or drag/drop file into map
Step 1: Click icon Upload AOI
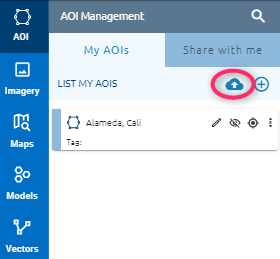
A popup will appear
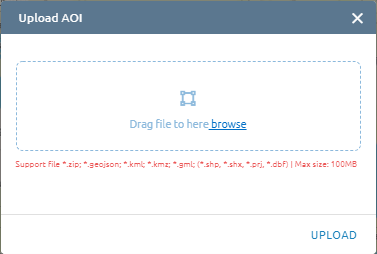
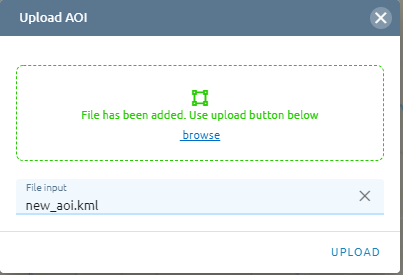
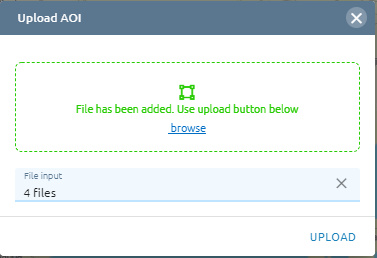
Step 2: Click dropbox -> Select file from PC or Drag and drop file into dropbox (System support file: .zip, geojson, .kml, .kmz, .gml , .shp (.shp, shx, prj, .dbf)).
If not .shp file, only select one file:
Else, select four files: .shp, .shx, .prj, .dbf:
Step 3: Click Upload button
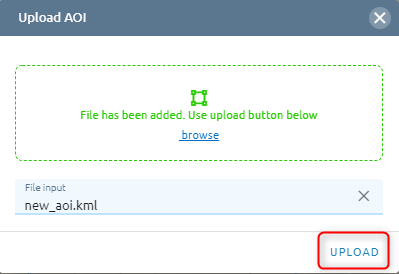
New AOI is created
Drag and drop file into map
Step 1: Select file from PC
Step 2: Drag and drop into map
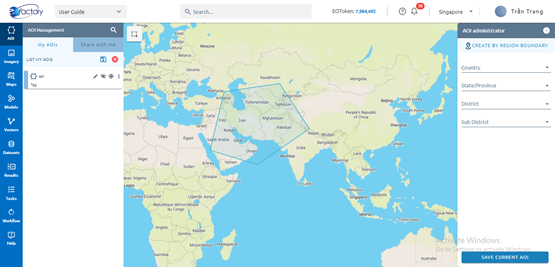
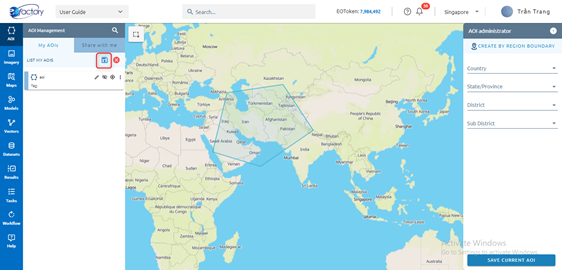
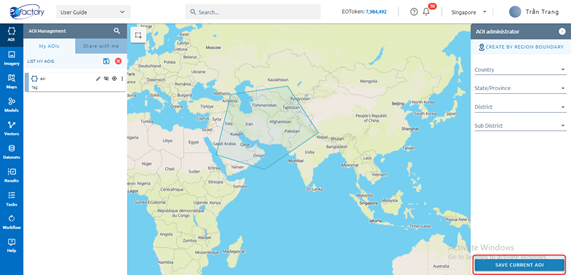
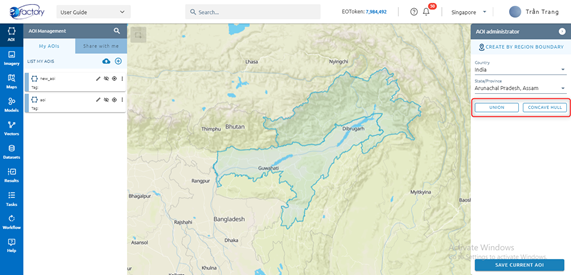
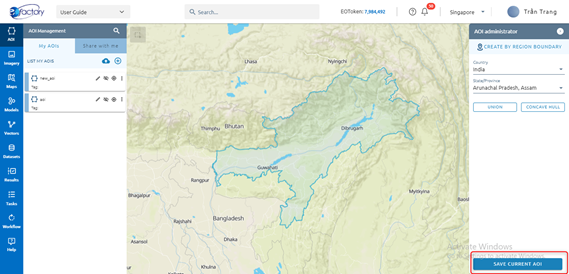
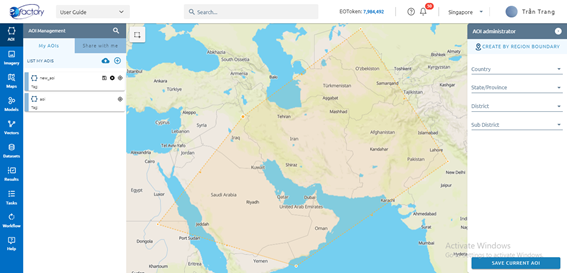
Create by region boundary
Step 1: Select region boundary
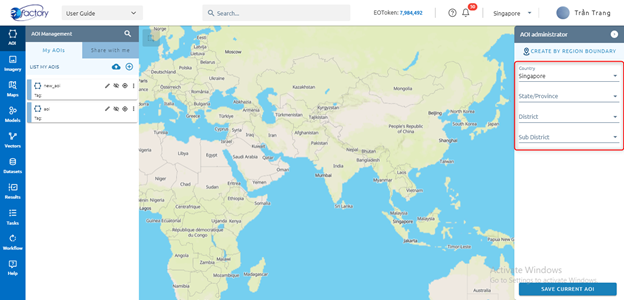
You can select one or many boundaries.
If select many boundaries, please choose UNION or CONCAVE HULL
Step 2: Click Save Current AOI button
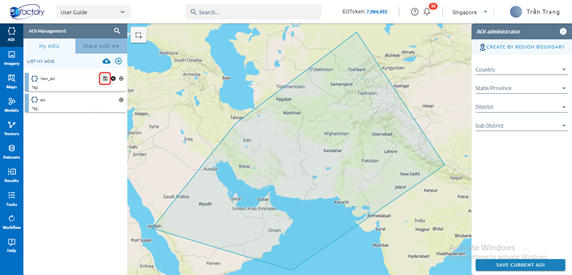
Edit
User want to edit existed AOI
Step 1: Click pen icon of AOI you want edit
Step 2: Click AOI on map -> Edit
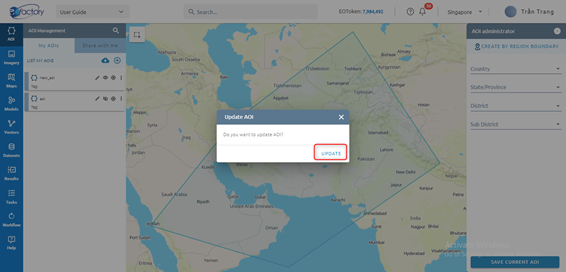
Step 3: Click Save icon
Click Update button to confirm change
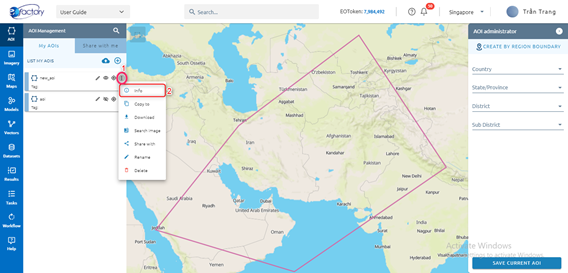
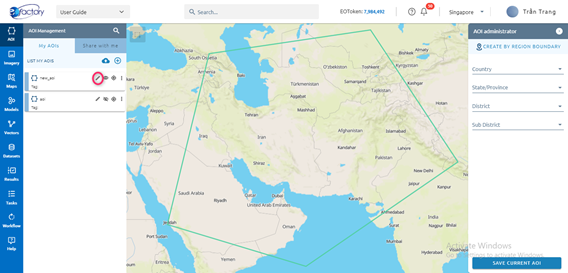
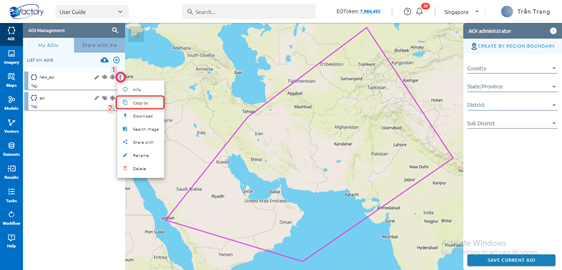
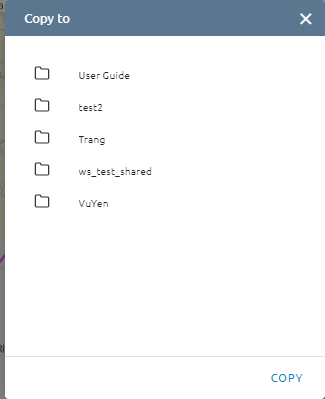
Copy
User want copy AOI to other workspace
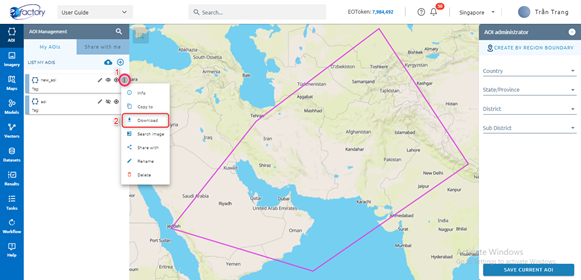
Step 1: Click menu icon of AOI -> Copy to
Step 2: Select workspace which you want copy to -> Click Copy button
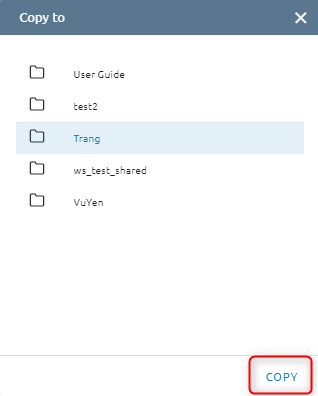
=> AOI is copied to the workspace “Trang”. Open workspace to check.
Download
Select AOI which you want to download: Click menu icon -> Click download button.
=> File is saved as .geojson. File name is AOI’s name.

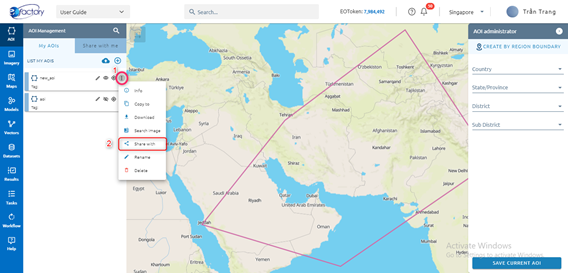
Share
User want share AOI to other user with email
Step 1: Click menu icon -> Click Share with button
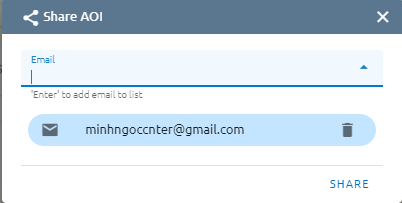
Step 2: Type email
You can share to multi different email:
Type email
Press Enter in keyboard
Step 3: Click Share button
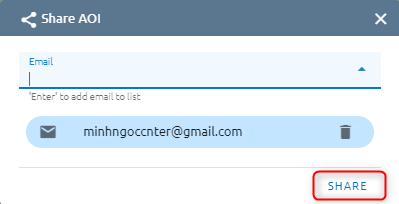
=> AOI is shared to other user
Rename
User want to rename AOI
Step 1: Click menu icon -> Click Rename button

Step 2: Type new name and add tag or not (Add tag: Type tag -> Enter).
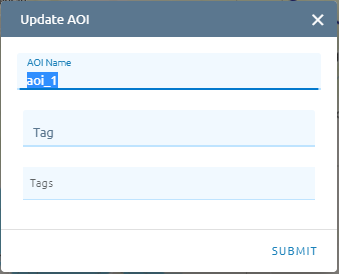
Step 3: Click Submit button
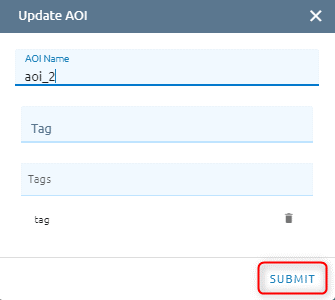
=> AOI is renamed and add tag
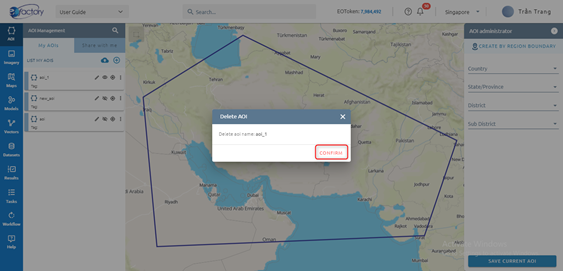
Delete
Users want to delete AOI.
Step 1: Click menu icon -> Click Delete button
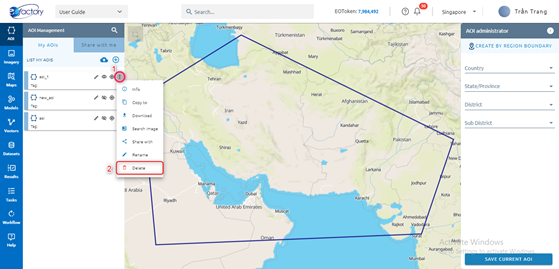
Step 2: Click confirm button