Imagery where store and manage the images and the raster resuls. Also in Imagery, users can upload images, or download satellite images such as: Sentinel, Landsat or even add their own URL to download images. Besides storing and managing images, Imagery provides the toolkits to let users analyse the images.
Add
There are several ways to add images in Imagery: drag and drop into empty area of Imagery, download satellite images such as Landsat, Sentinel,…, use Imagery Guru to search for images, or upload directly from PC.
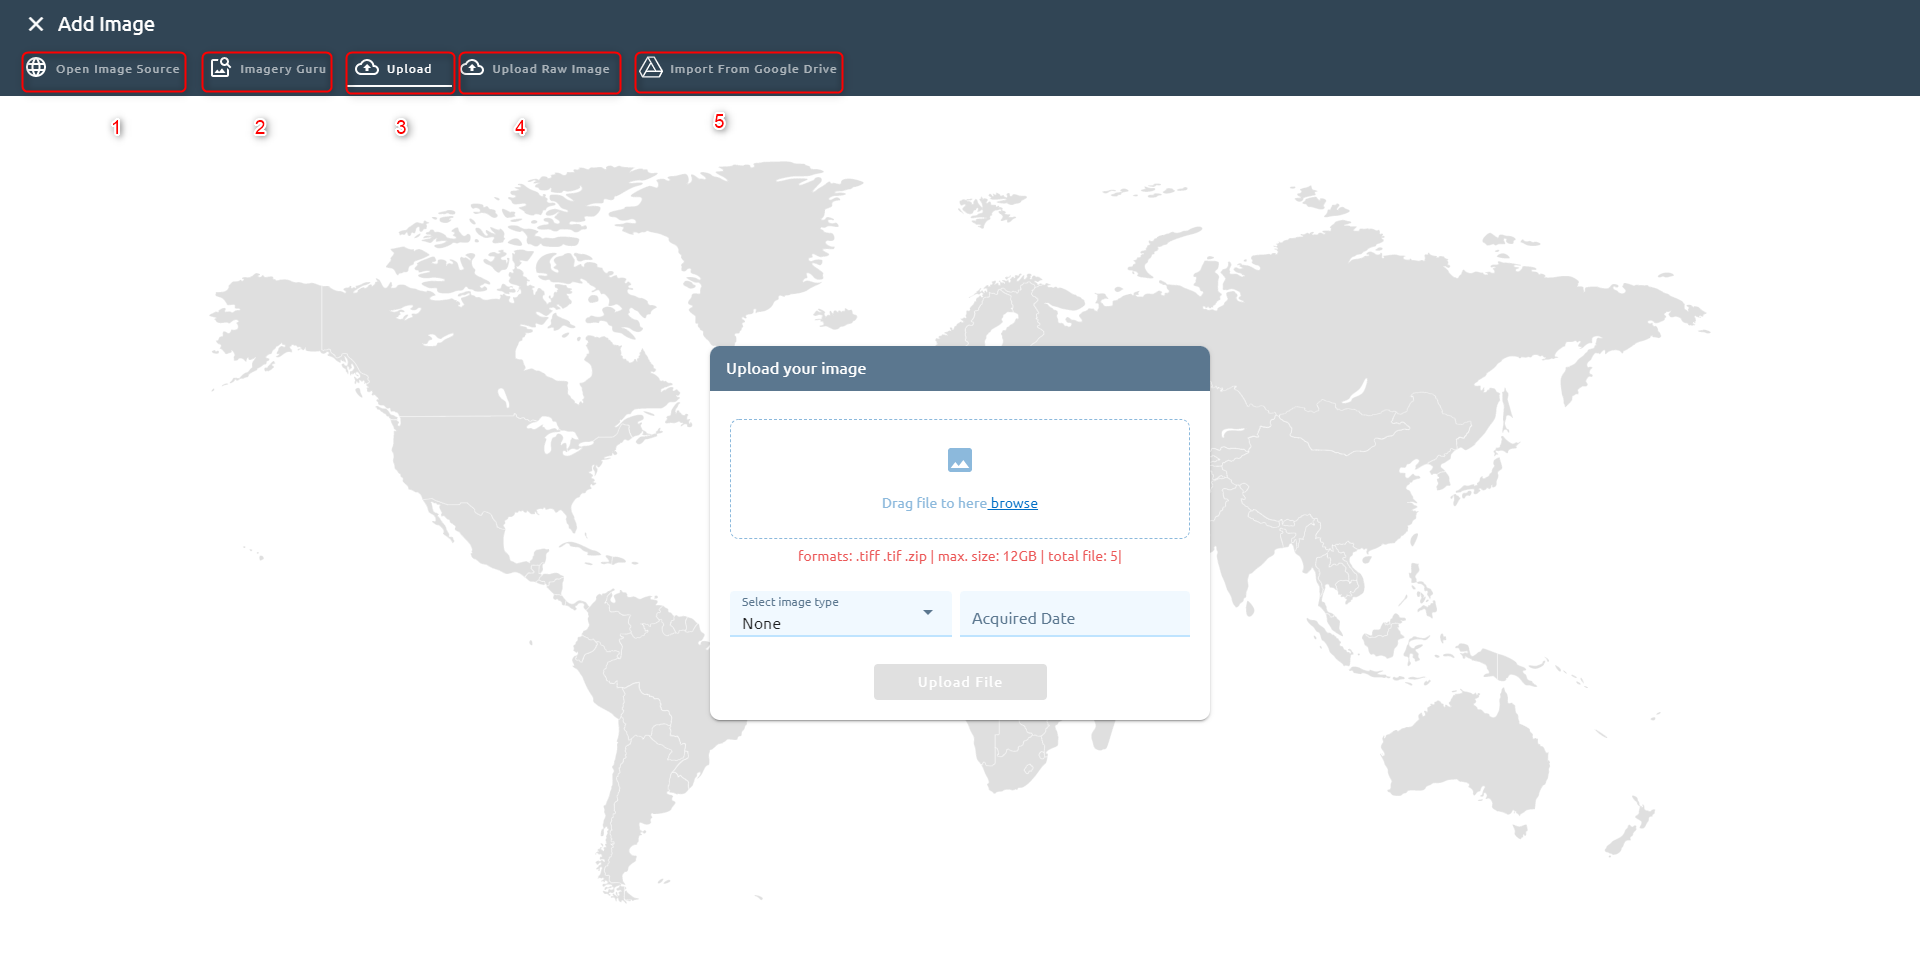
(1): Open Image Source: Download image from free sources (Sentinel1, Sentinel2, Rolodex, Landsat-8, Bing, DEM)
(2): Imagery Guru
(3): Upload file from PC
(4): Upload raw image from PC (Superview-1, Jilin, GF-2, Sentinel-1, Sentinel-2, Landsat-8, WorldView-2, Kompsat-2, Kompsat-3)
(5): Import image file from Google Drive
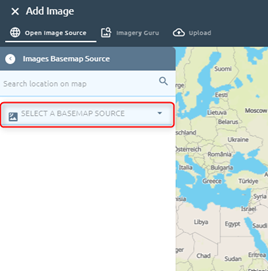
Open Image source
Users can download images from free sources: Sentinel 1, Sentinel 2, Landsat-8, Bing, SRTM(DEM), Rolodex.
Click Select A Basemap Source to select source:
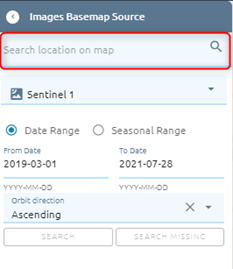
Sentinel 1
Step 1: Select date, orbit direction:
Date Range:
Select From Date, To Date (From Date < To Date)
Select Orbit Direction: Ascending, Descending
Seasonal Range:
Select From Date, To Date (From Date < To Date)
Select Years (can choose many)
Select Orbit direction
Choose one of two options above
Step 2: Select AOI
There are four ways to select AOI:
Search location -> Draw AOI on map
Use Draw tool to draw AOI on map: Click  icon -> Select one of four tools by click or use shortcut:

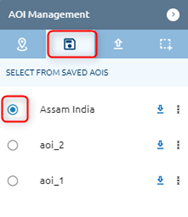
Select existed AOI in AOI Management: Click icon -> Select one of list AOIs
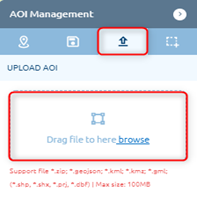
Upload AOI from PC: Click icon -> Upload file:
Select from created region boundary (similar create region of boundary in AOI)
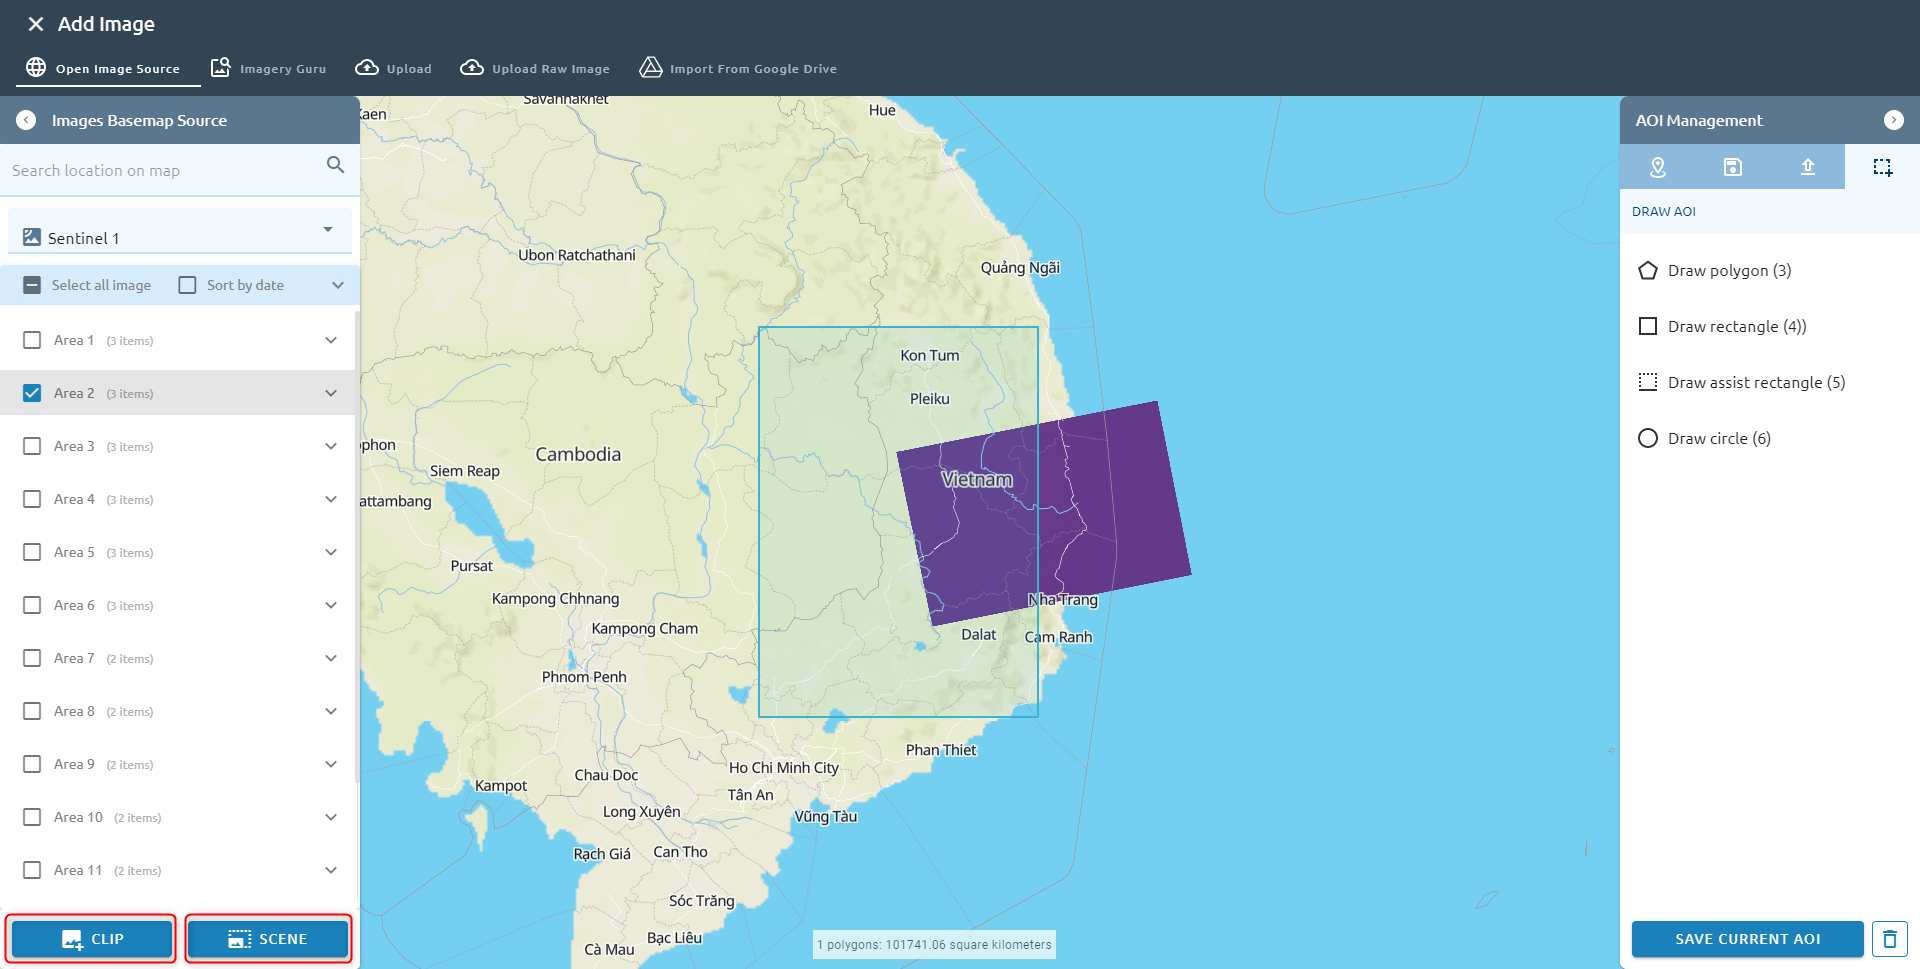
Step 3: Click Search button and select items
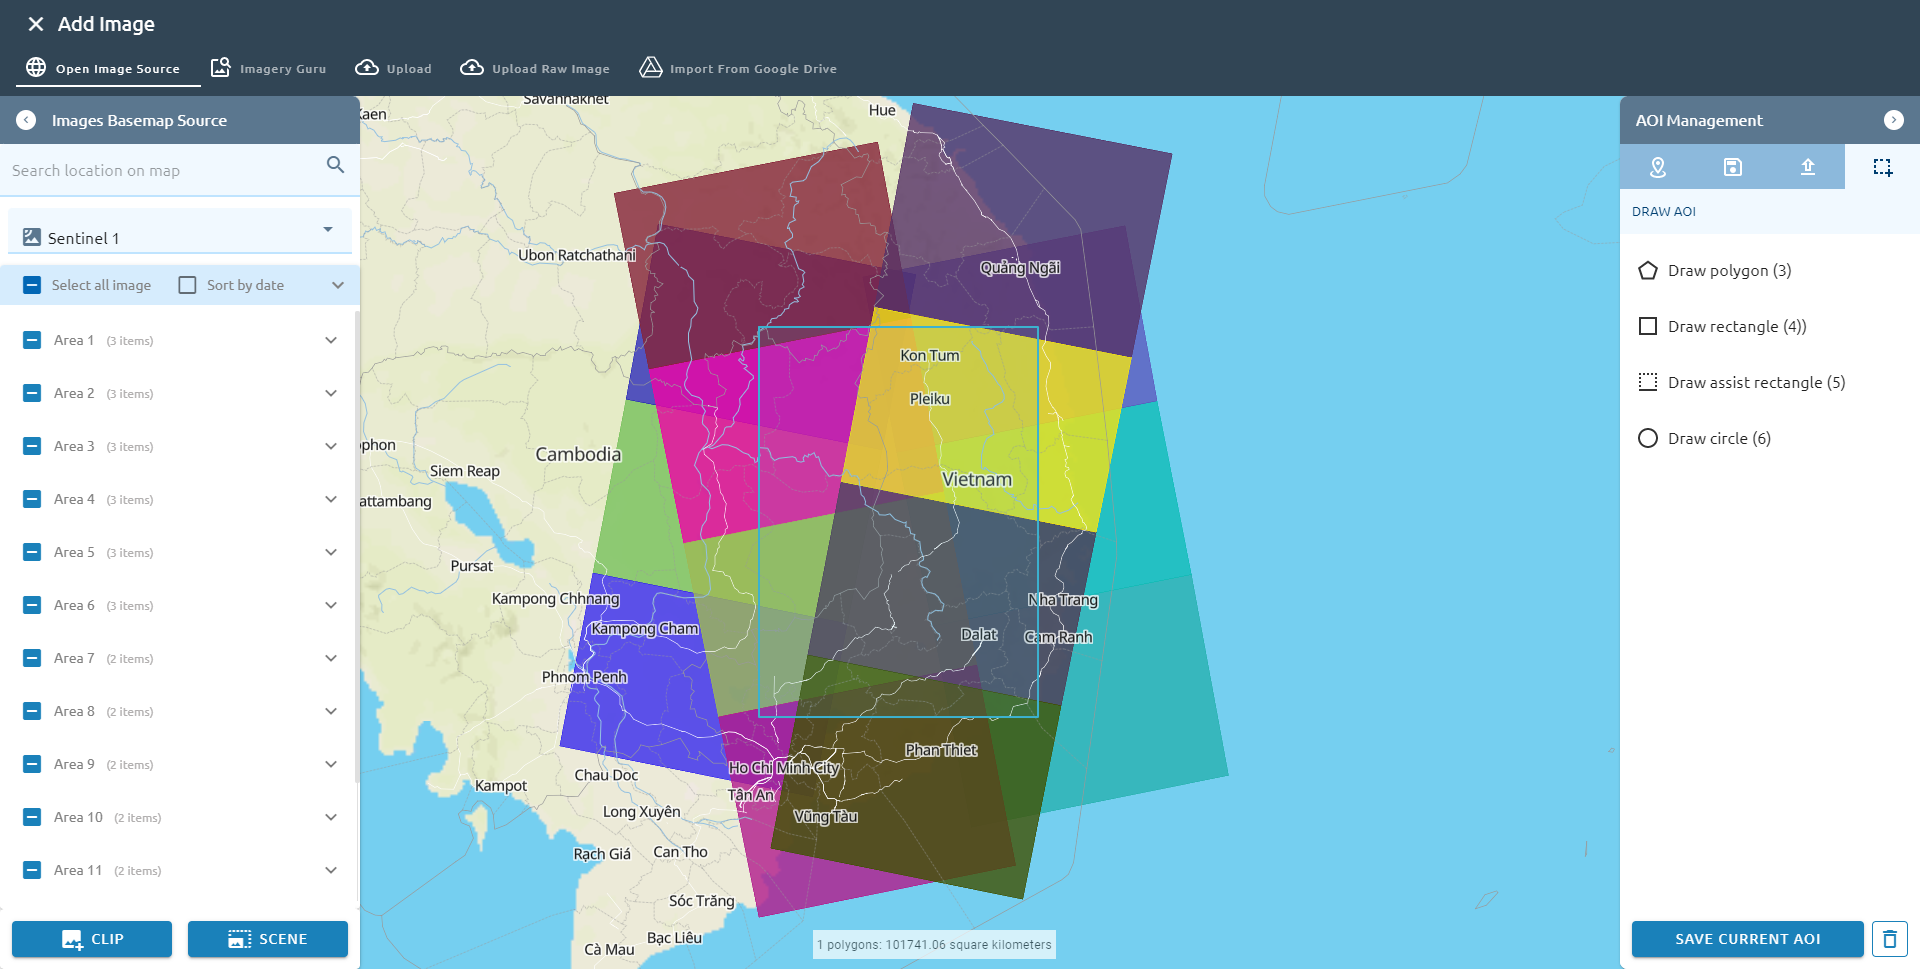
Default: each area chooses one item.
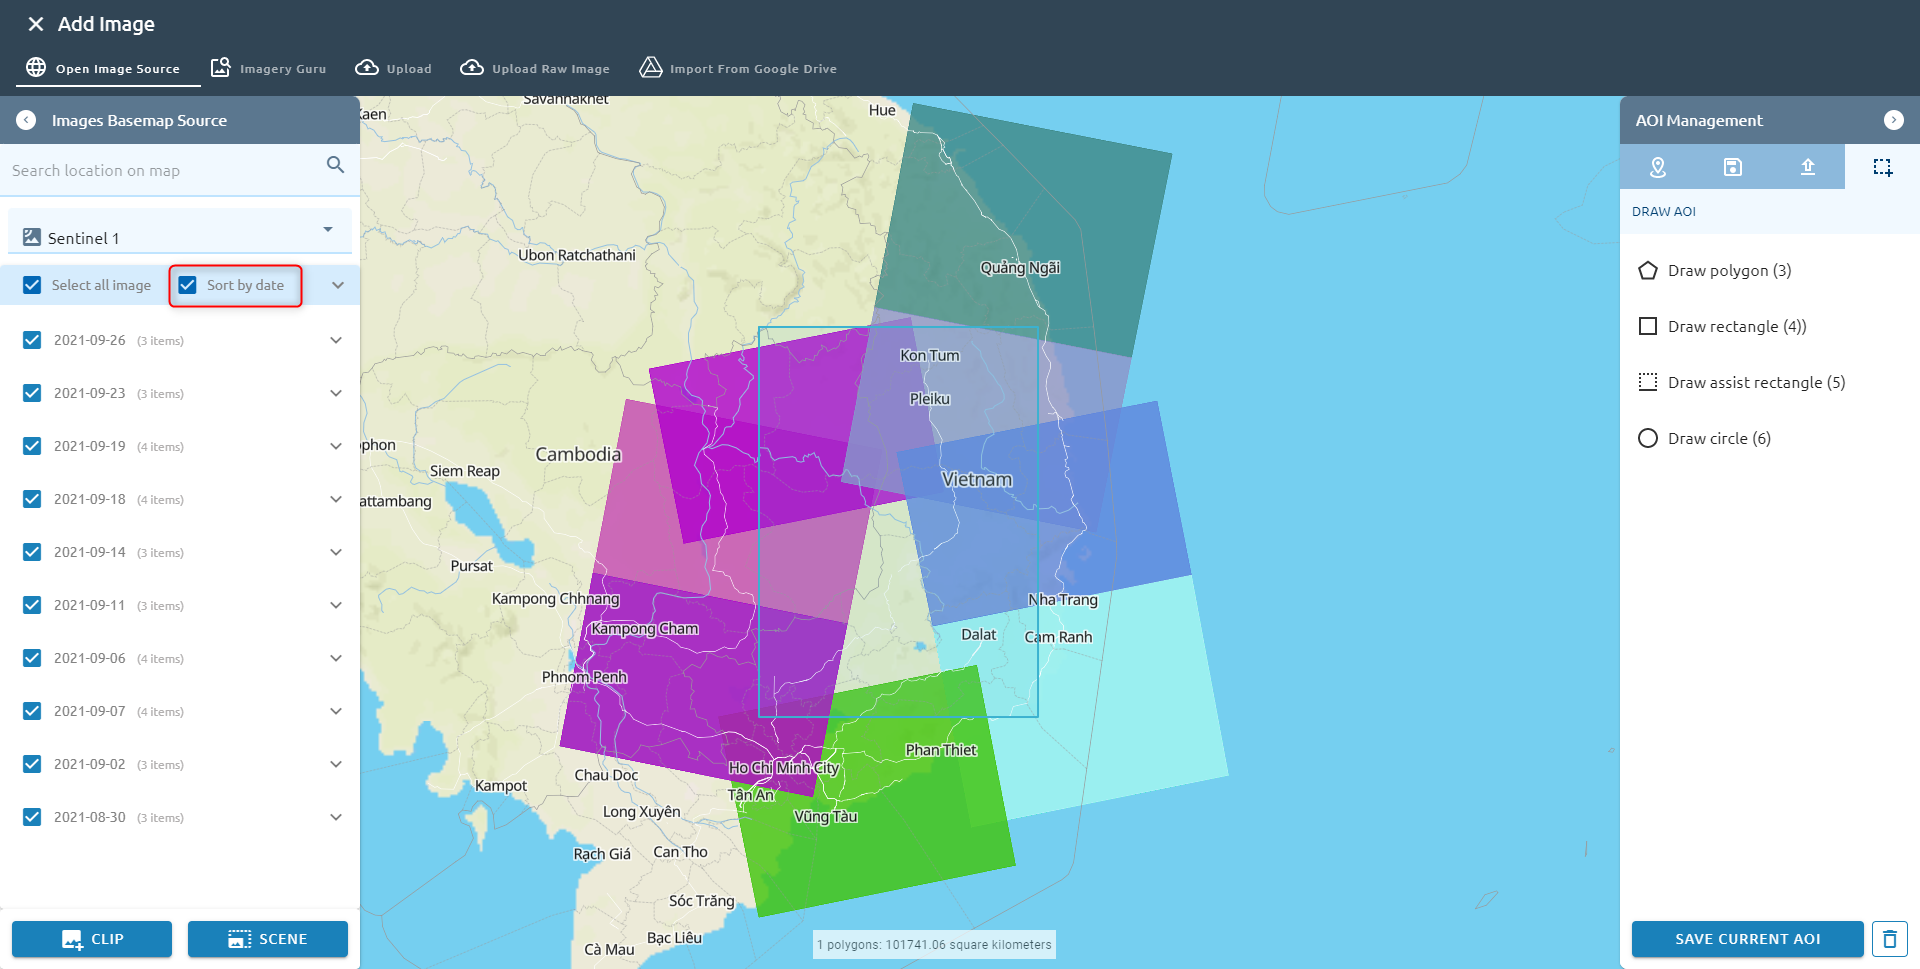
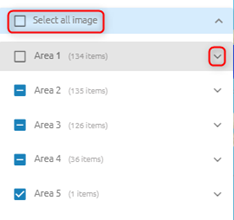
Click the checkbox Select all images to select all images or click checkbox Sort by date to group images into groups which be sorted by date
Click expand icon to show all items in that area
Step 4: Click Clip or Scene
(Clip:) the image will be downloaded and clipped with AOI
(Scene:) Image will be download whole scene
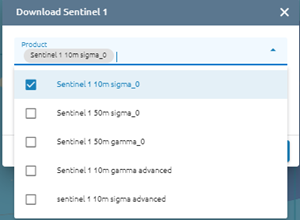
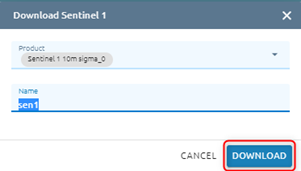
Step 5: Select product (can choose many), type name
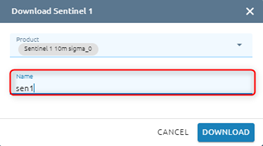
Step 6: Click Download button
=> Task will be created in Tasks, wait task success, check result in Imagery
Sentinel 2
Similar to download sentinel 1, but download sentinel 2 does not have orbit direction, it is replaced by Percent cloud.
Step 1: Select date, type percent cloud (default: 40)
Step 2: Select AOI
Step 3: Click Search button and select items
Step 4: Click Clip or Scene (which clip means the image will be downloaded and clipped with AOI. Scene means that Image will be download whole scene)
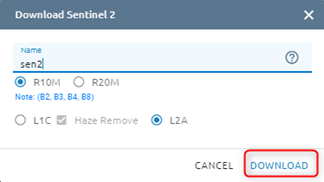
Step 5: Type name and select option (R10M or R20M, L1C or L2A, Haze Remove or not Haze Remove)
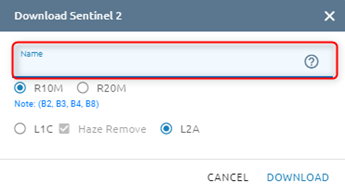
Step 6: Click Download button
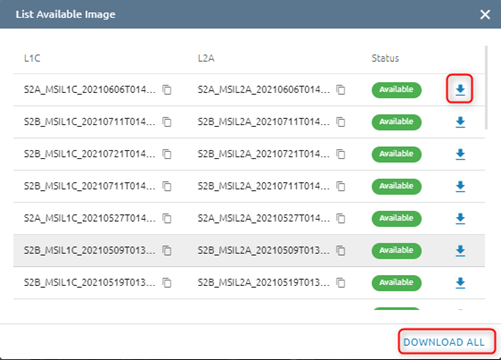
You can choose one, many or all images to download
=> Task will be created in Tasks, wait task success, check result in Imagery
USGS Landsat
Step 1: Select date, type percent cloud (default: 40)
Step 2: Select AOI
Step 3: Click Search button and select items
Step 4: Click Clip or Scene (which clip means the image will be downloaded and clipped with AOI. Scene means that Image will be download whole scene)
Step 5: Type name, select option (Haze remove or Pansharpen, 4 bands or 8 bands)
Haze remove: Haze (or fog, mist, and other atmospheric phenomena) is a main degradation of outdoor images, weakening both colors and contrasts. We propose a simple but effective “dark channel prior” to remove haze from a single input image
Pansharpen
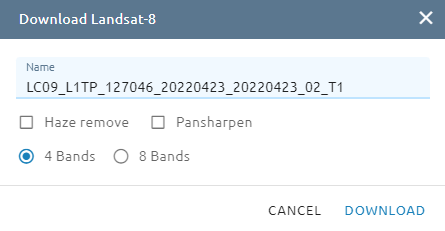
Step 6: Click Download button
=> Task will be created in Tasks, wait task success, check result in Imagery
Bing
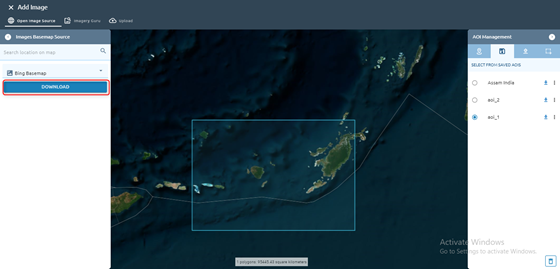
With Bing, you just need to choose AOI
Step 1: Select AOI
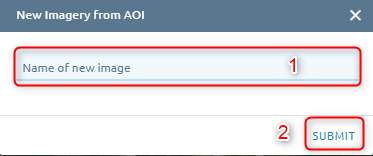
Step 2: Click Download button
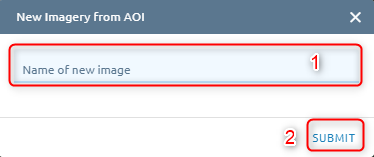
Step 3: Type name -> Click Submit button
=> Task will be created in Tasks, wait task success, check result in Imagery
SRTM (DEM)
Similar to Bing, you just need to choose AOI.
Step 1: Select AOI
Step 2: Click Download button
Step 3: Type name -> Click Submit button
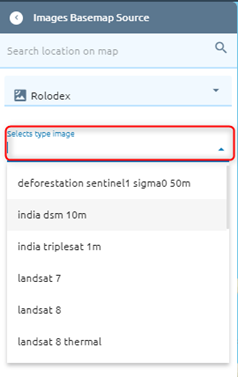
Rolodex
Step 1: Select type image, date
Step 2: Select AOI
Step 3: Click Search button -> Select item(s)
Step 4: Click Clip or Scene
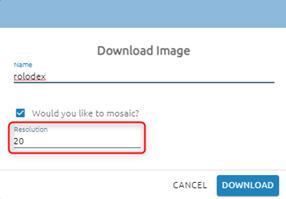
Step 5: Type name, select “Would you like to mosaic?” to mosaic if there are many items (if checked, you can type resolution)
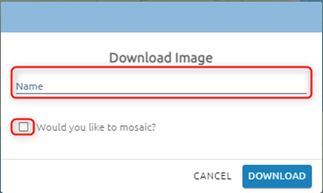
Step 6: Click Download button
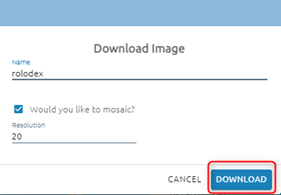
=> Task will be created in Tasks, wait task success, check result in Imagery
Imagery Guru
Download the commercial images
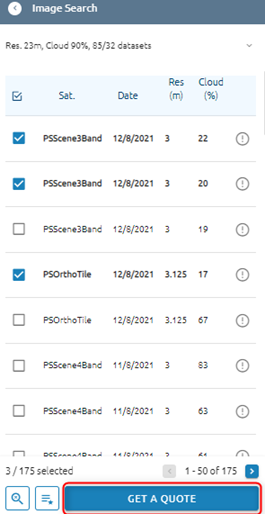
Search
Allow users to search images on imagery guru.
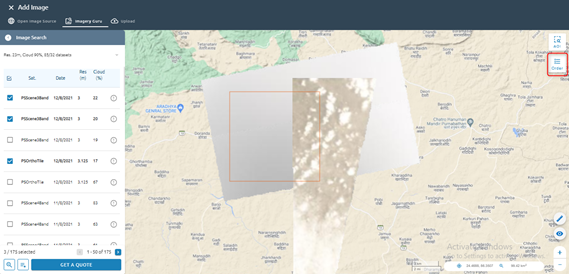
Step 1: Select AOI
You can search location then draw AOI or select exist AOI. Select date, adjust Cloud coverage, Resolution of images
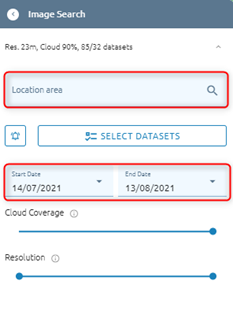
Step 2: Click “Search” button if step 1 is choose exist AOI
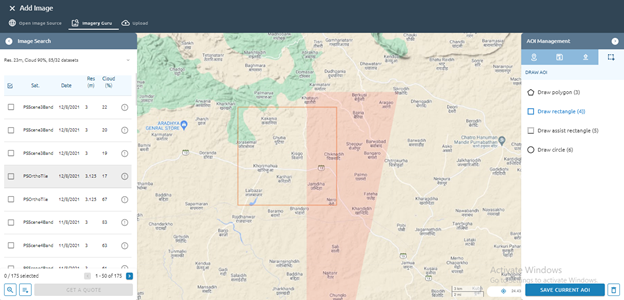
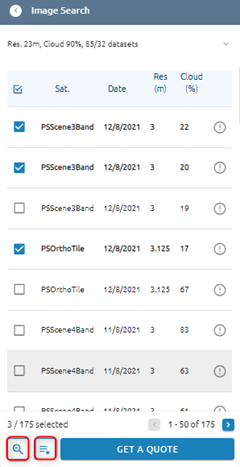
=> Return list images.
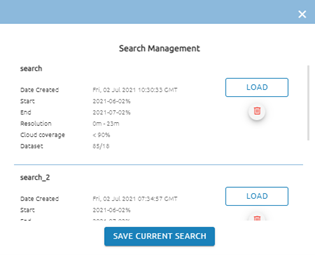
Beside, you can also store and manage search results:
Click  icon to show the saved search result. Search Management allows you to save current search, load and delete search results in list.
Click  icon to clear selected items.
Setting
Allow users to set up an alert to receive an email when new imagery matches the parameters.
Step 1: Click  icon
icon
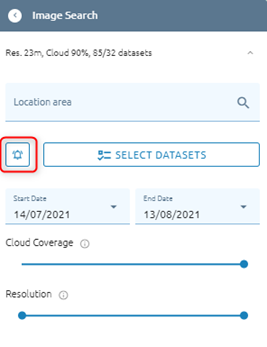
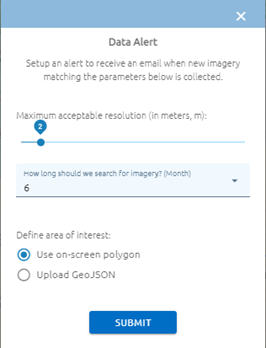
Step 2: Define parameters:
Maximum acceptable resolution
How long should we search for imagery?
Define AOI
Step 3: Click Submit button
Submit a quote
After you choose images, click “Get a quote” button:
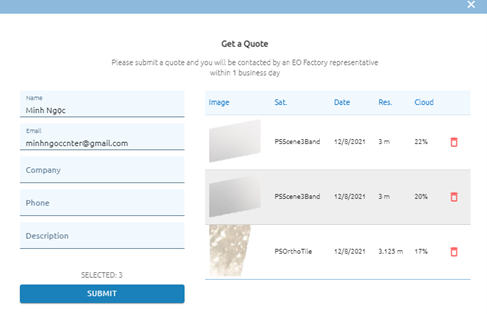
Next check images and type information -> Click Submit button.
=> EO Factory representative will contact with you within 1 business day
Order
Allow users to manage your ordered images. Click Order button
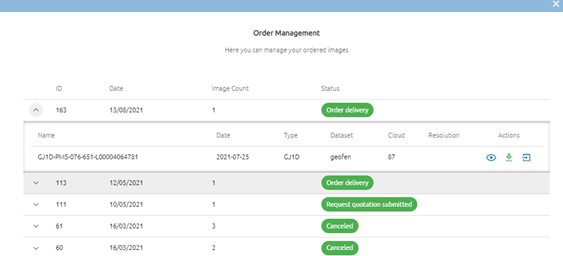
Wait for status is Order delivery, you can click icon to download the image or click  icon to import to workspace.
Upload
Users want to upload files from the computer. System support file .tiff, .tif, .zip, .ecw, .jp2
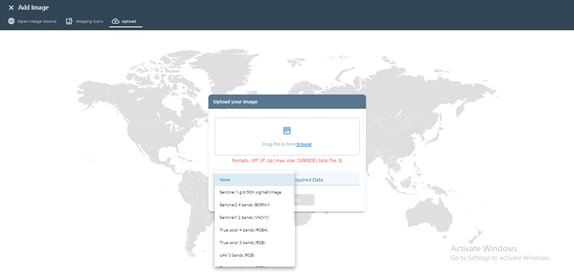
Click Upload File button
After clicking the button, a task will be created. Task success -> uploaded image successful.
=> Please check at tab My Images.
Upload Raw Image
Allow you to upload raw image. List of sensor: Superview 1, Sentinel-1, Sentinel-2, Landsat-8, WorldView-2, GF-2, Skysat.
Step 1: Select sensor
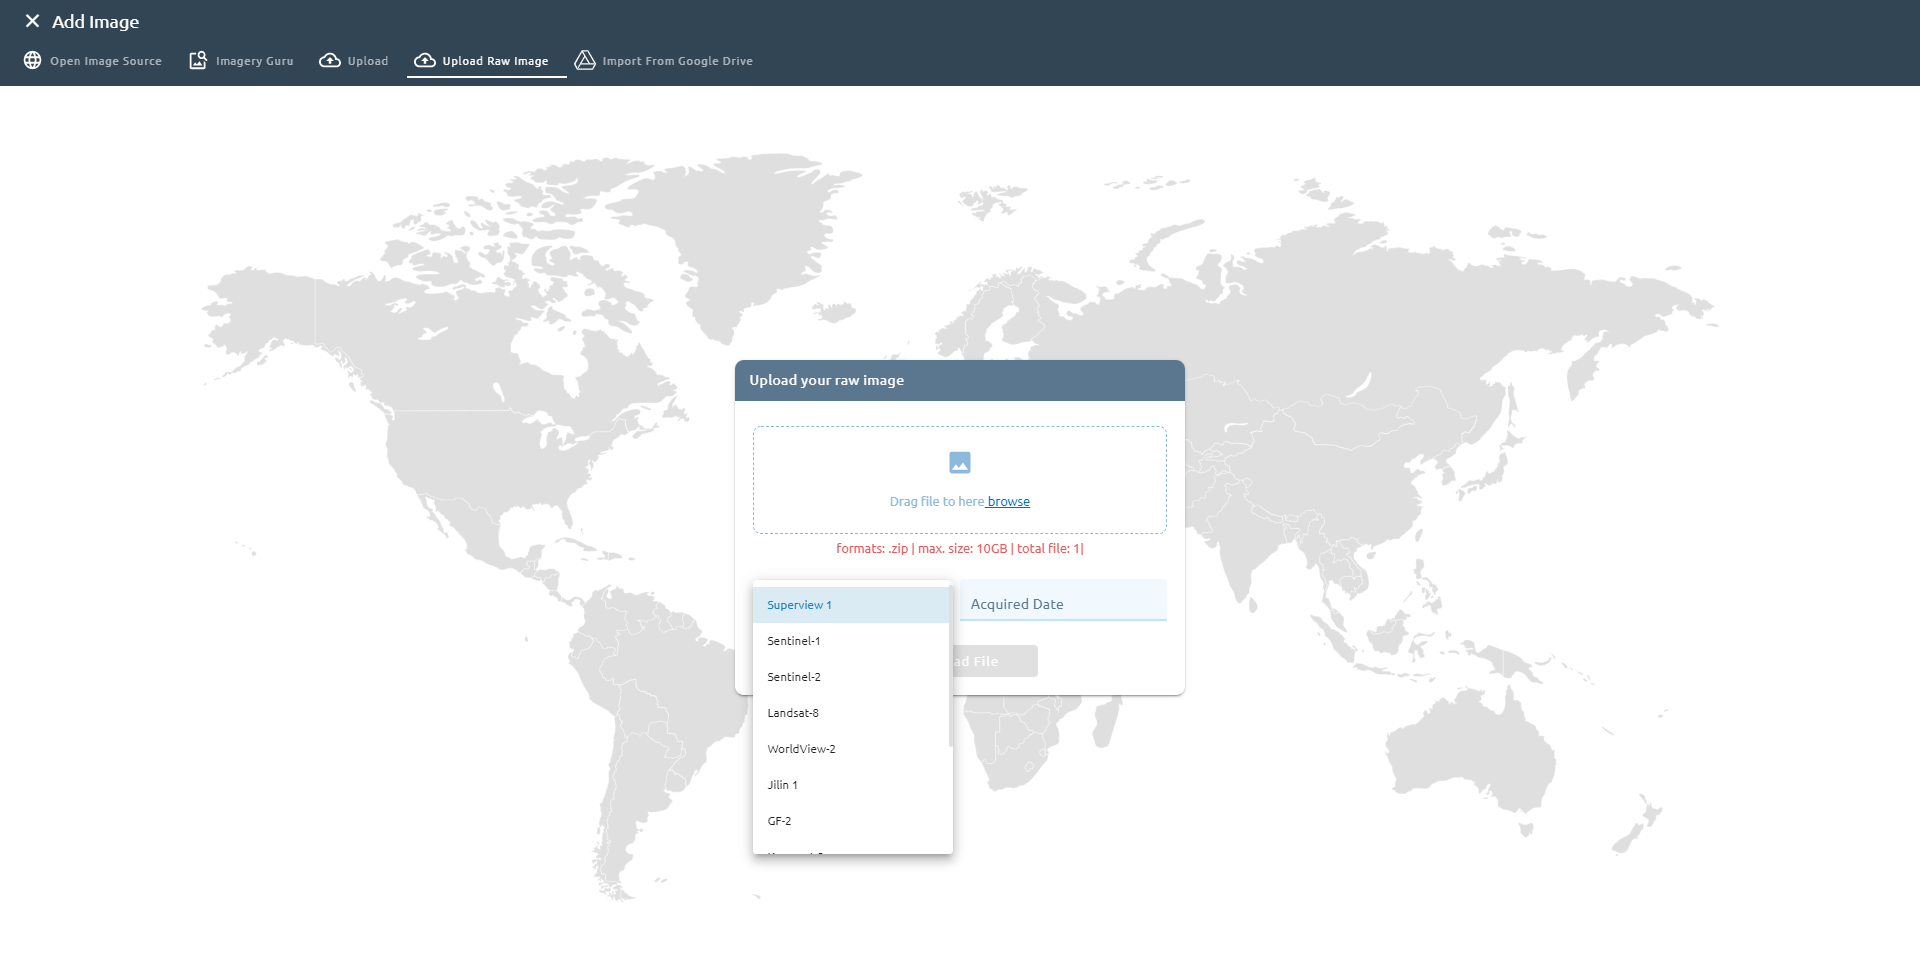
Step 2: Select raw image
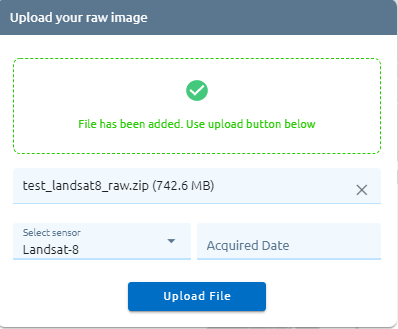
Step 3: Click Upload File button
=> Wait for task success, check in Imagery menu you will see 1 folder contain that images.
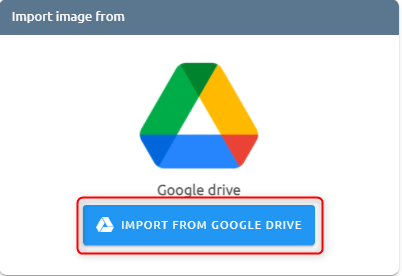
Import From Google Drive
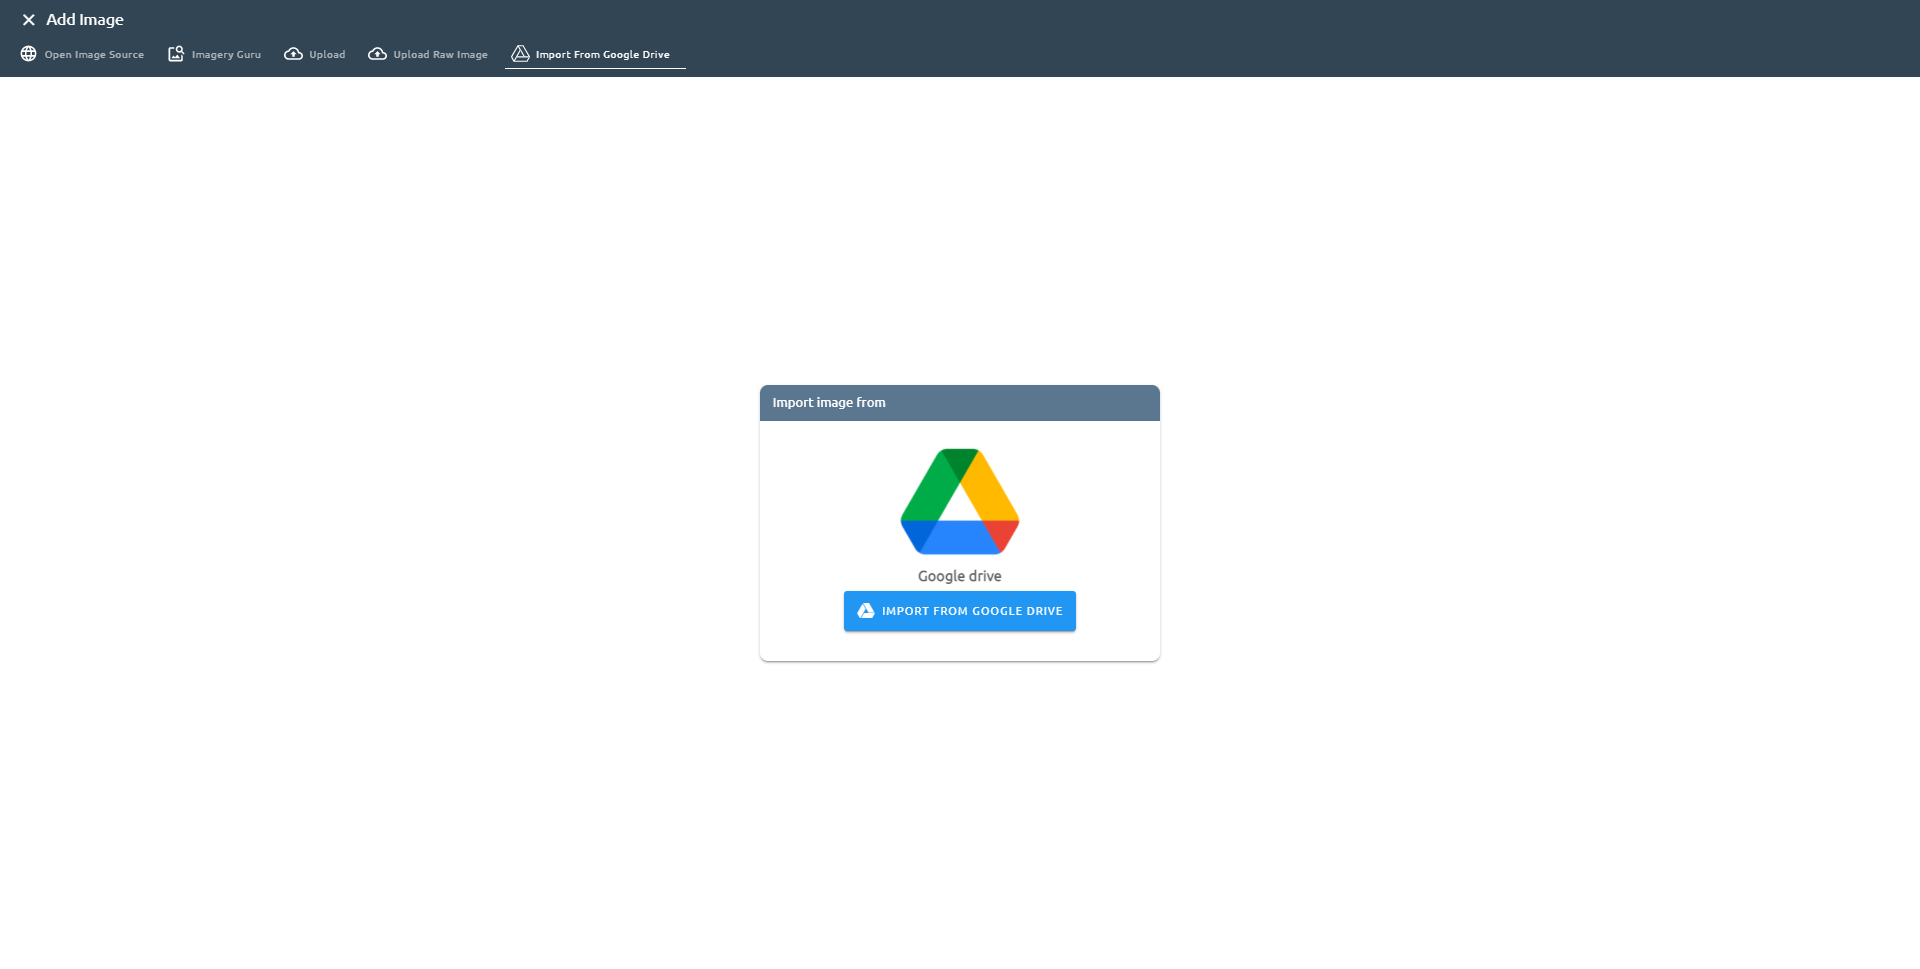
Step 1: Click Import From Google Drive button
Step 2: Select file from google drive
You can select one file, many file, folder
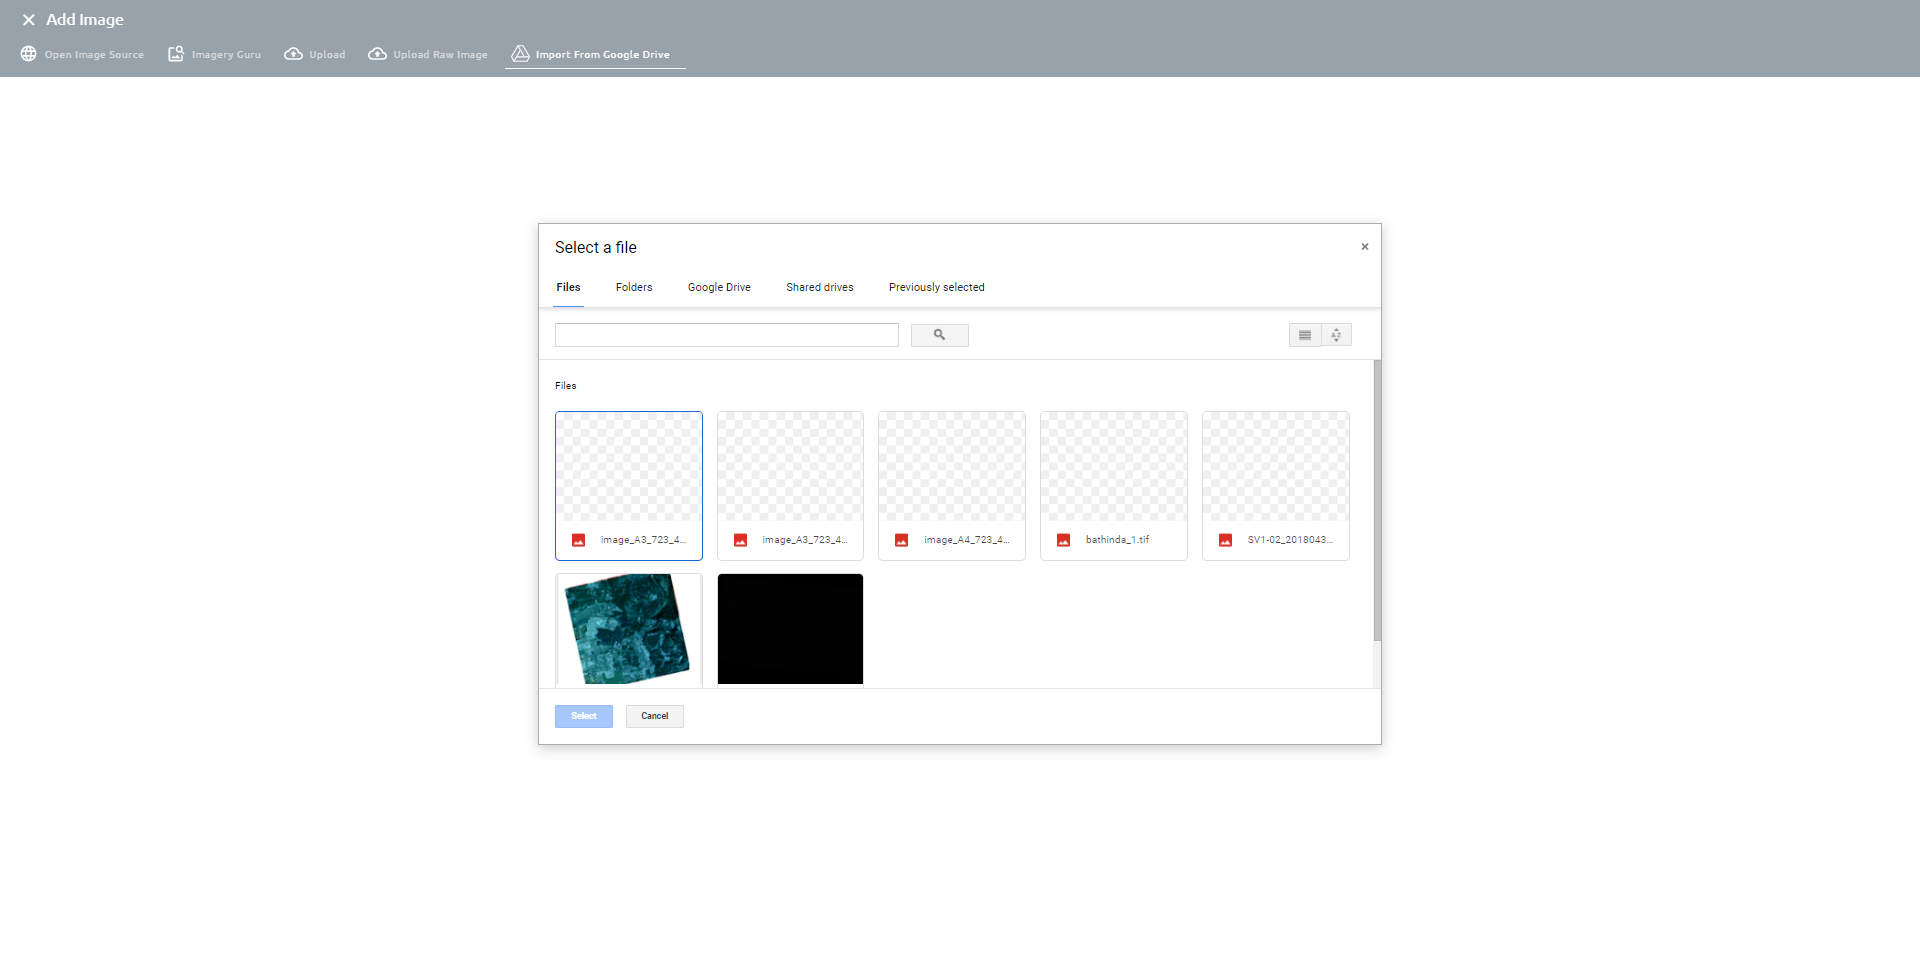
Step 3: Click Select button and wait for task success -> check in Imagery menu.