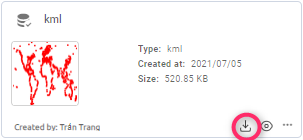
Vectors where store and manage the images and the vector results. Also in Vectors, users can upload vectors from the PC. Besides storing and managing vectors, it provides the toolkits to let users analyse the vector files.
My Vectors
Store and manage your own vectors. Users can choose one or many vectors to action.
This is action list of vector:

Create
Create new vector(s) by upload: drag and drop into box or empty area.
Way one:
Step 1: Click “Create new”:
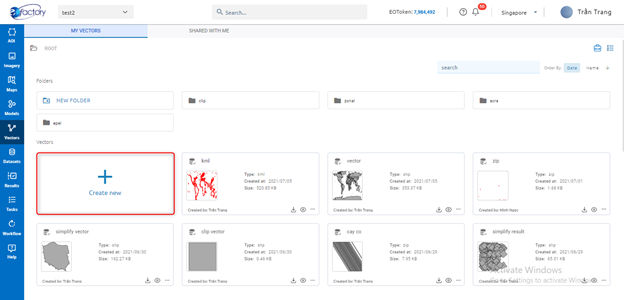
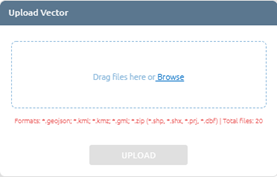
Step 2: Upload file
You can click file upload area -> choose file or drag and drop file into file upload area:
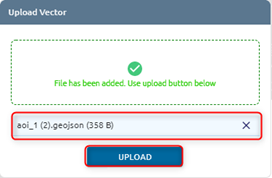
Step 3: Click Upload button
Way two:
Drag and drop into empty area of Vector.
After clicking button, a task will be created, wait task success and check in the menu Vectors
View in Map
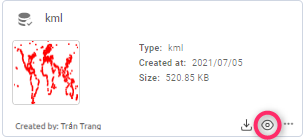
Click eye icon to show vector in map (one vector) or select many vectors -> click right mouse -> click Add to map button.
Edit
Rename vector
Step 1: Click icon to show action list
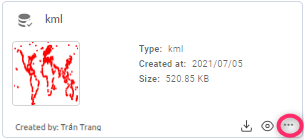
Step 2: Click Edit button in action list
Step 3: Type new name
Step 4: Click Confirm button
Edit vector
Users edit vector or layer on map.
Step 1: Add vector to map
Step 2: Edit vector
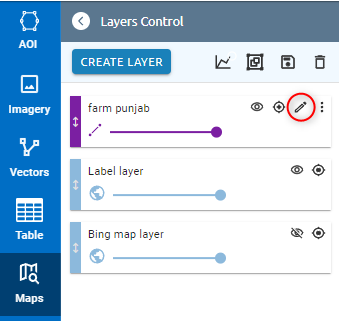
Click pencil icon of layer
Use draw tool to edit
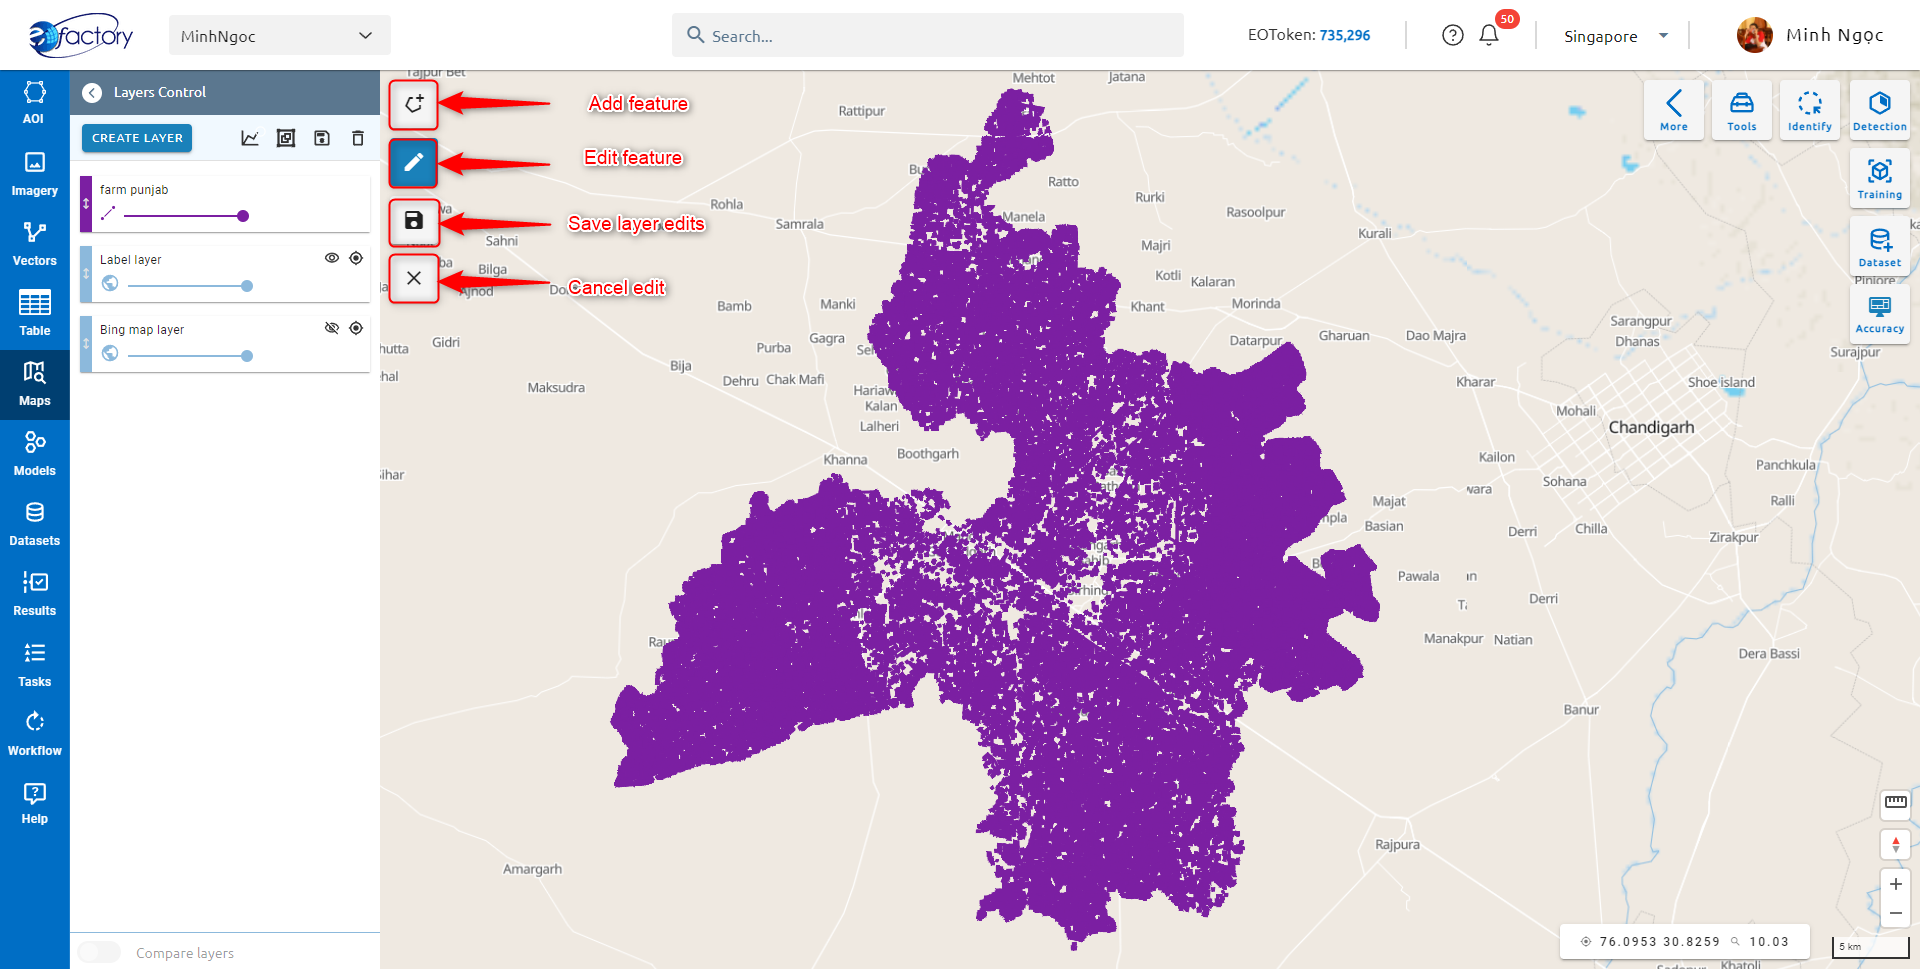
Click save layer edits or cancel
Copy
Step 1: Click icon to show action list
Step 2: Click Copy to button in action list
Step 3: If you want to copy to new folder, click add icon -> type folder name to create a new folder, then click the folder which you want to copy to.
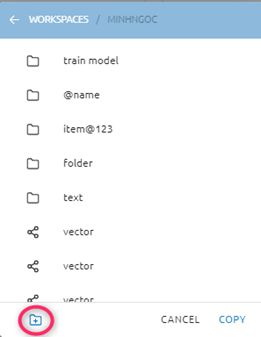
Step 4: Click Copy button
Move
Similar to Copy to.
Delete
Step 1: Click icon to show action list
Step 2: Click Delete button in action list
Step 3: Click Confirm button
Note: You can select many vectors and process them (Select multiple vectors -> click right mouse -> select action (view in map, share, delete, copy, move)).
